How Much Does It Cost To Start Flipping Furniture?
You 100% DO NOT need fancy tools to makeover furniture. Sure, there are a couple of things you do need but the point of entry is probably a lot less than you think it is. If you want a simple guide on what you really need to kick off (super budget friendly), I recommend dowmloading my FREE guide HERE. Once you have a few hand tools in your hand, you can easily makeover pieces like this, and start earning money flipping furniture.
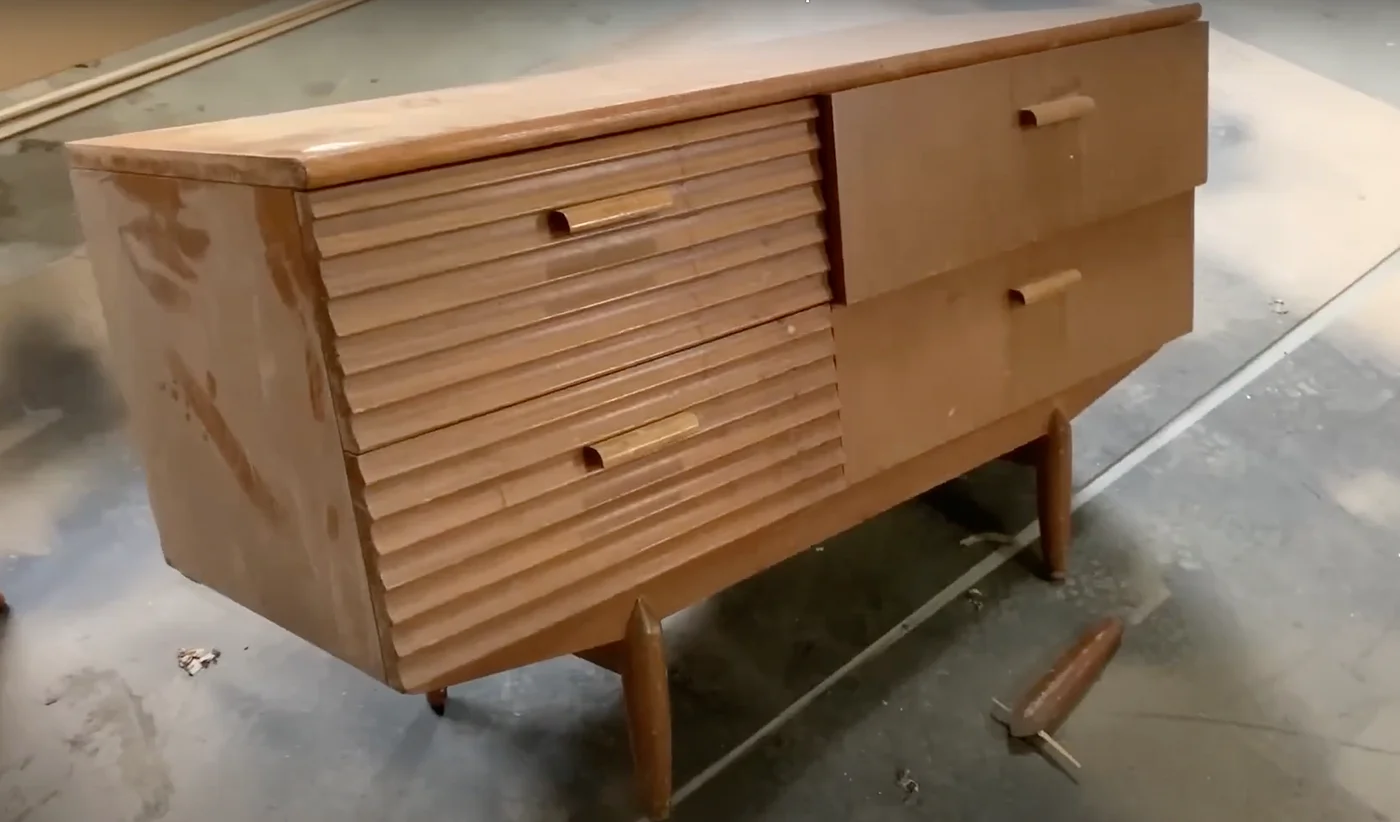
I scored this piece for about twenty New Zealand dollars at a local garage sale. It was pretty rough — lots of scratches, chips, stains, and the veneer was in pretty poor shape. But I loved the style and saw a lot of potential. It’s a classic case of “don’t judge a book by its cover” — with a little work, this could turn into something really nice.
First Steps: Disassemble & Inspect
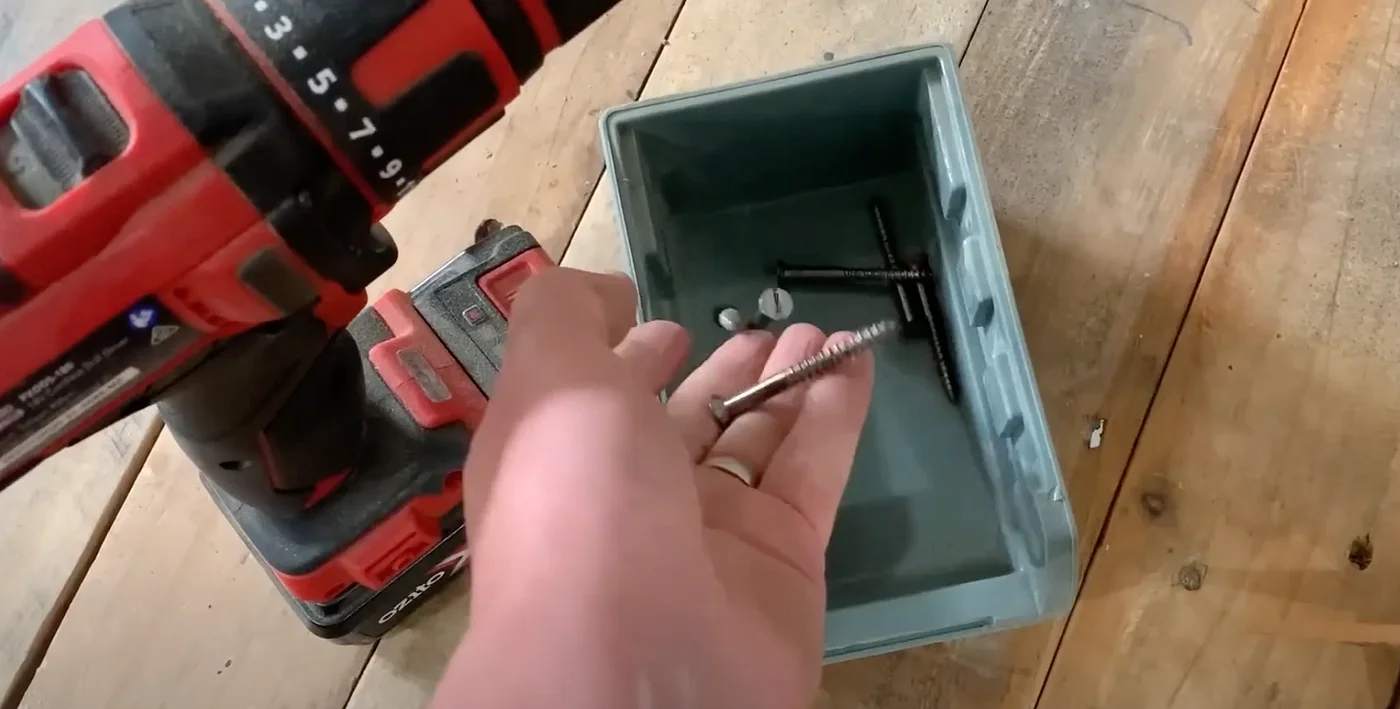
My first move? I always remove all the drawers and hardware. It makes the whole project easier and allows me to give everything a thorough clean. Plus, I want to spot any hidden issues like bugs or rot early on — nobody wants surprises later!
Once I took everything apart, I vacuumed, wiped everything down, and started planning my approach. Also, I saved the screws and hardware, reusing what I could—no point in buying new screws unless absolutely necessary.
Tackling the Surface: Sanding & Stripping
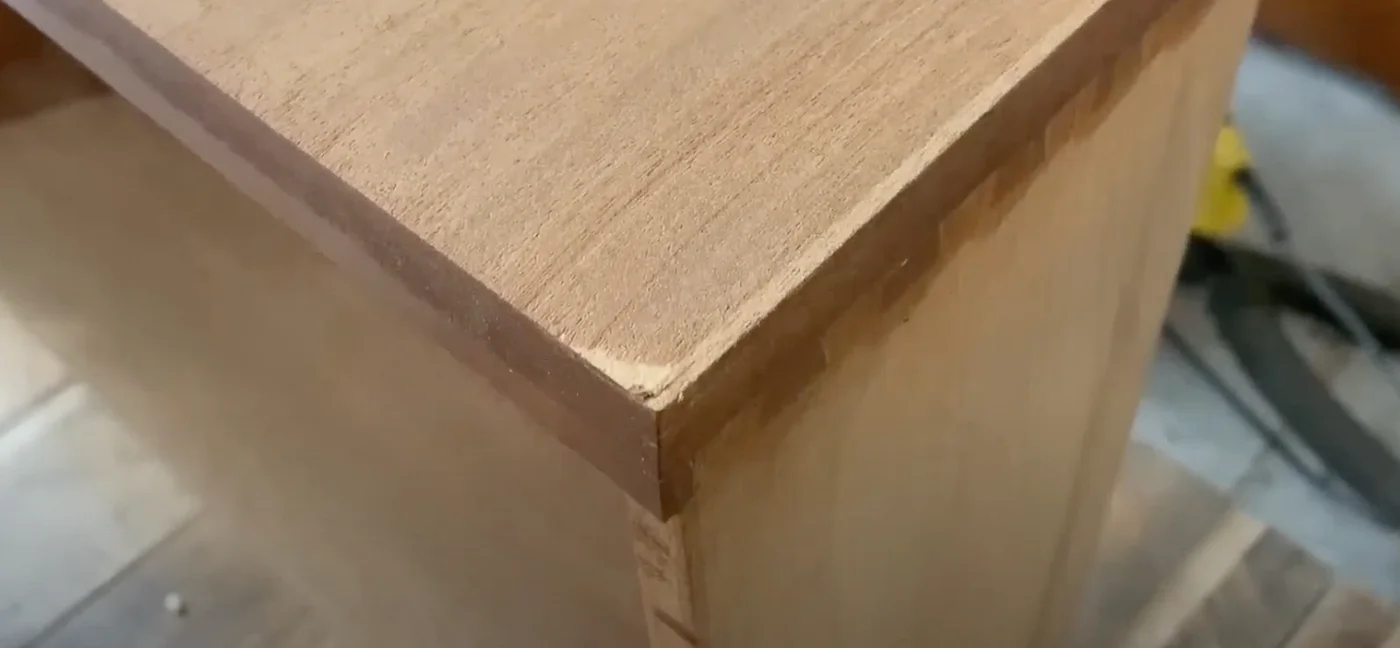
The top and sides had deep scratches and stains, so I knew I’d need to sand them down. I started with 60 grit sandpaper — mistake! That was too coarse for this veneer. I should’ve gone with 100 or 120 grit to avoid damaging the surface. Lesson learned: don’t rush the prep work; start with finer grit to protect the veneer.
I also used a scraper to remove the old varnish and finish where I could, which helped reduce the amount of sanding needed. Remember, manual sanding can give you better control and a smoother finish—so don’t feel like you need fancy equipment for everything.
Masks & Dust: Protect Yourself
A quick reminder: always wear a good quality mask when sanding. I use a proper respirator mask, not those flimsy paper ones. Sanding creates a lot of dust — it’s bad for your lungs, so don’t skip this step. I also hooked up a basic $60 shop vac to catch dust, which makes cleanup a lot easier and keeps the air cleaner.
Fixing Veneer & Surface Imperfections
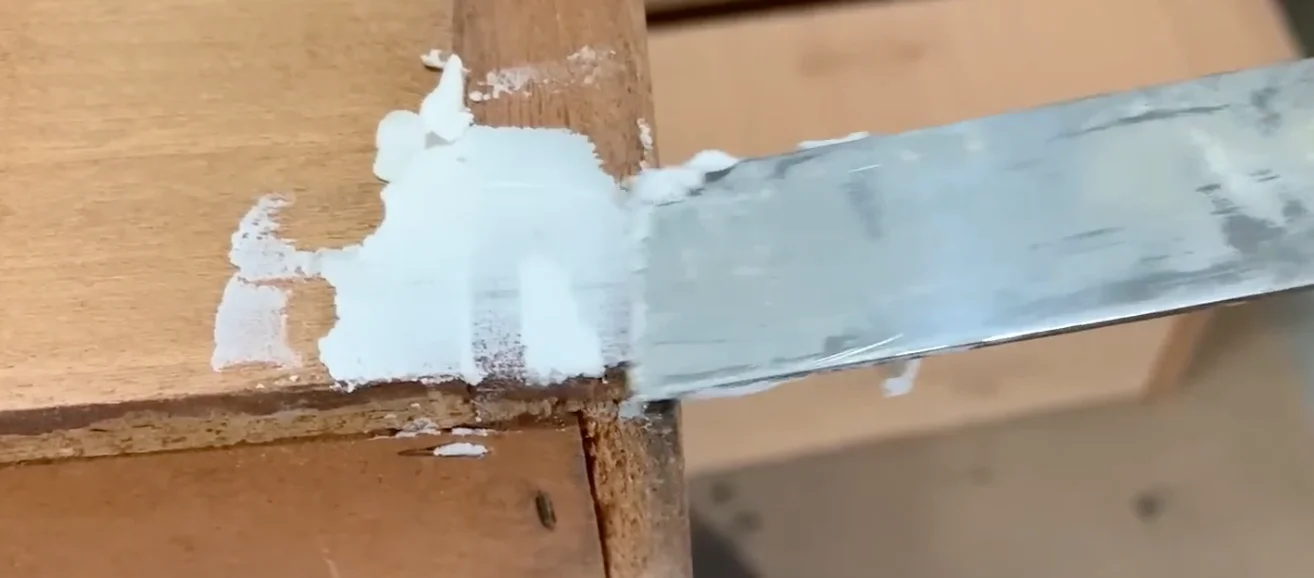
The veneer had some deep scratches, but luckily they hadn’t gone through the surface. I carefully sanded those down, and they smoothed out nicely. For chips or small gaps, I used some wood filler to patch things up.
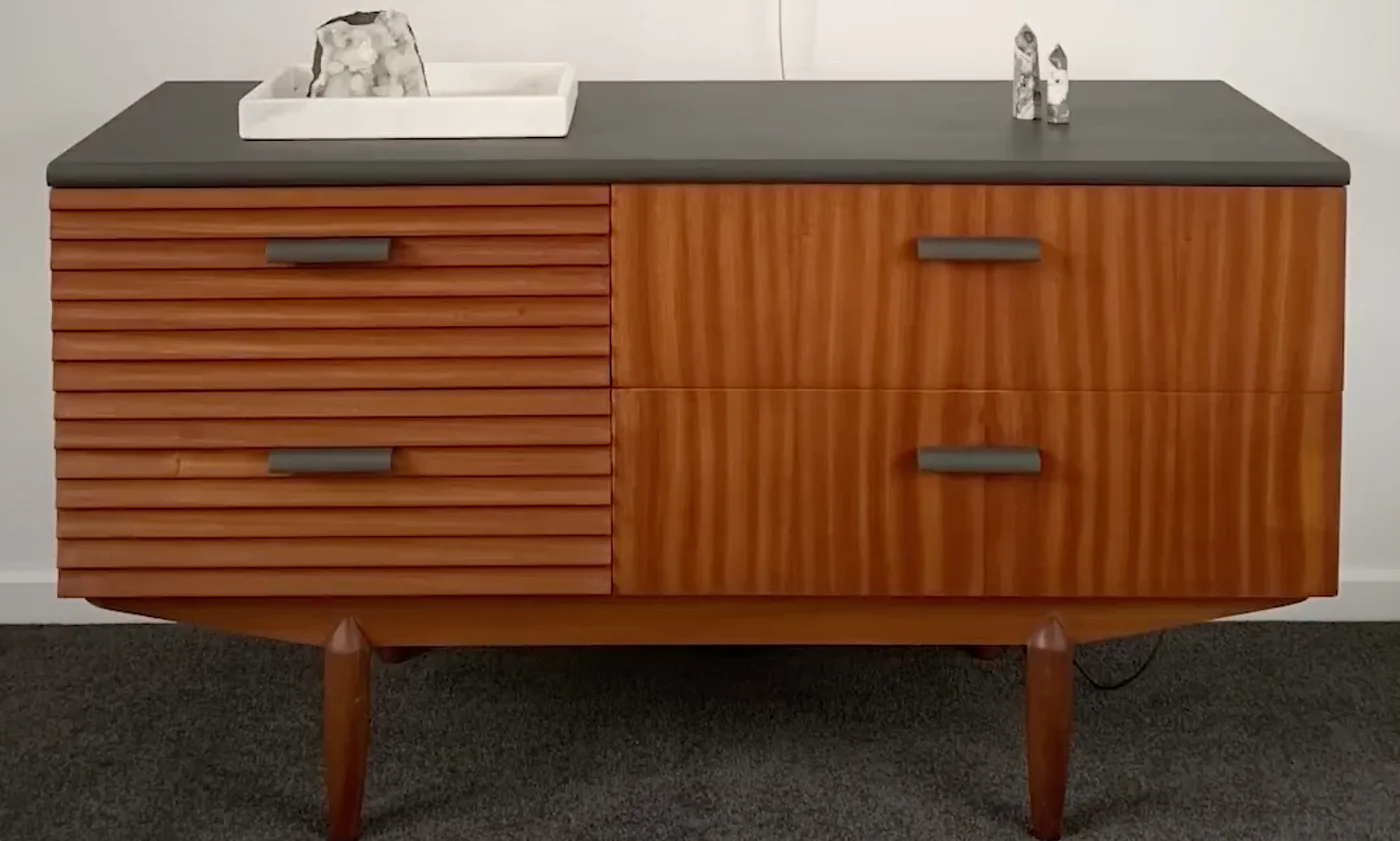
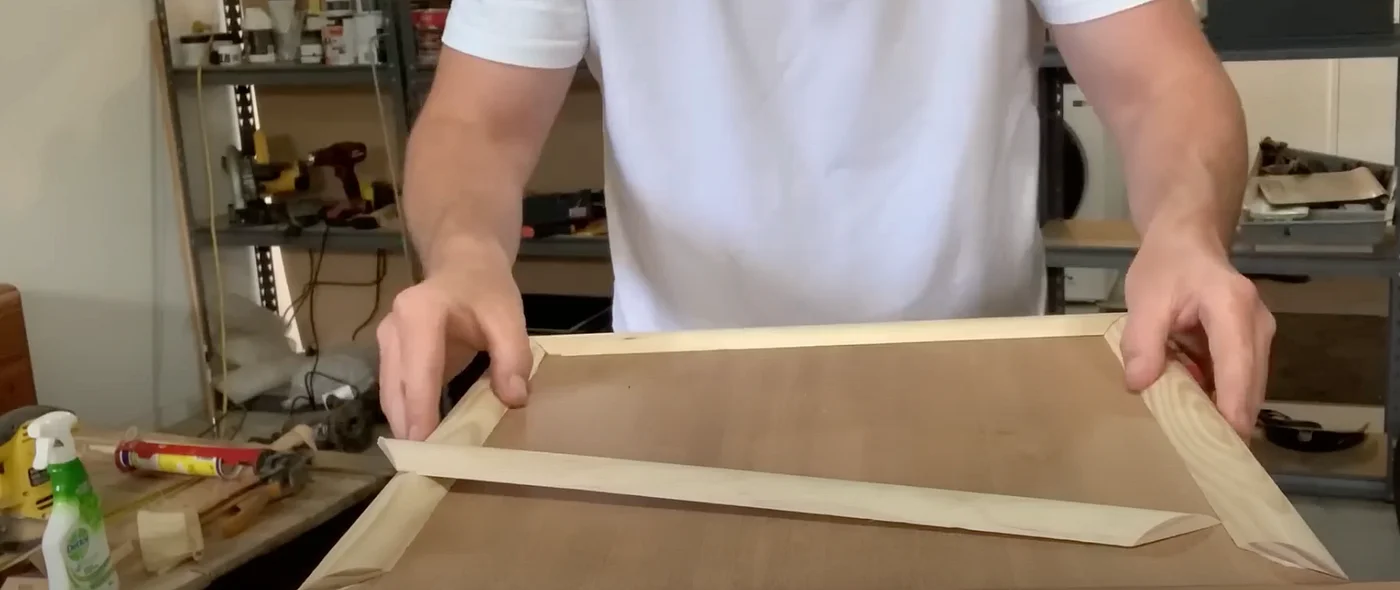
When it came to the badly soiled top, I debated whether to strip it completely or paint over it. Ultimately, I decided to paint — staining would’ve taken longer and been more costly. To add a bit of character, I framed the ends with pine trim, cut at a 45-degree angle for a clean look. You don't need a fancy mitre saw for this, you can get a secondhand mitre box and saw off the market place for a fiver!
Adding Character: Paint, Stain, & Details
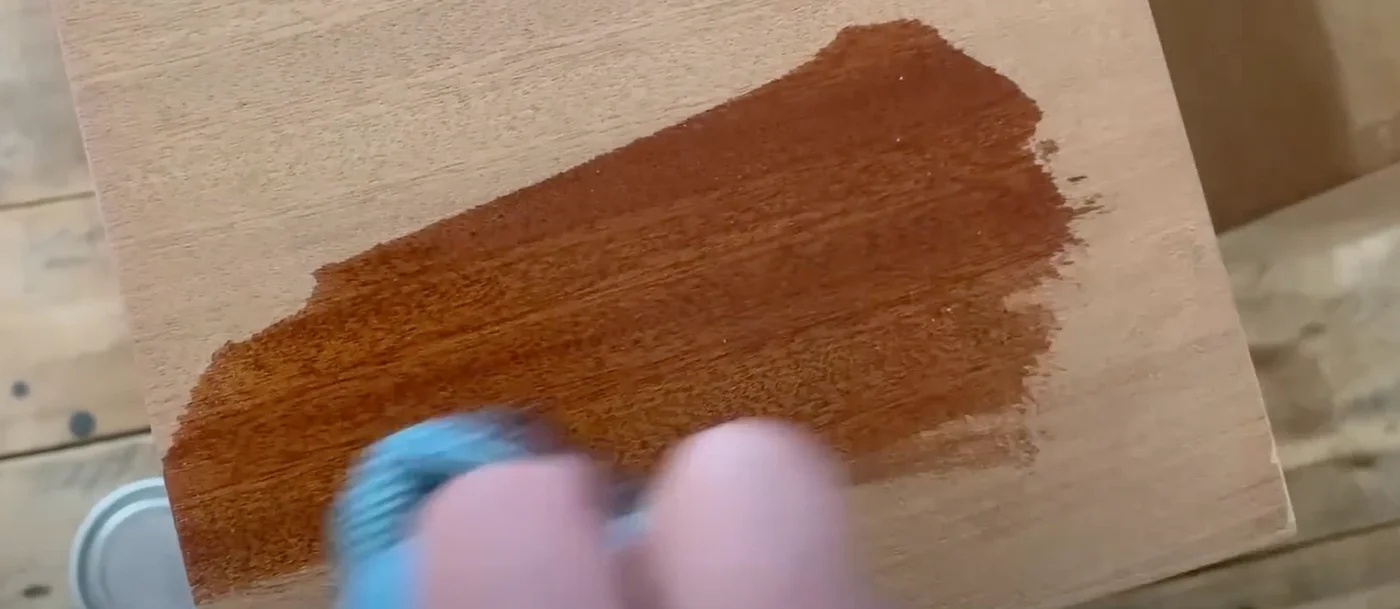
For the drawers, I chose a rich interior stain. I loved how it brought out the grain and added warmth. I applied it with a lint free cloth - although I would be inclined to use a sponge or brush as cloths can be very absorbant.
The Final Touches & Flip
After all the sanding, painting, and assembling, it was time for the finishing touches — waxing the drawers, buffing the handles, and styling for photos. Good lighting and clear images make all the difference when listing online.
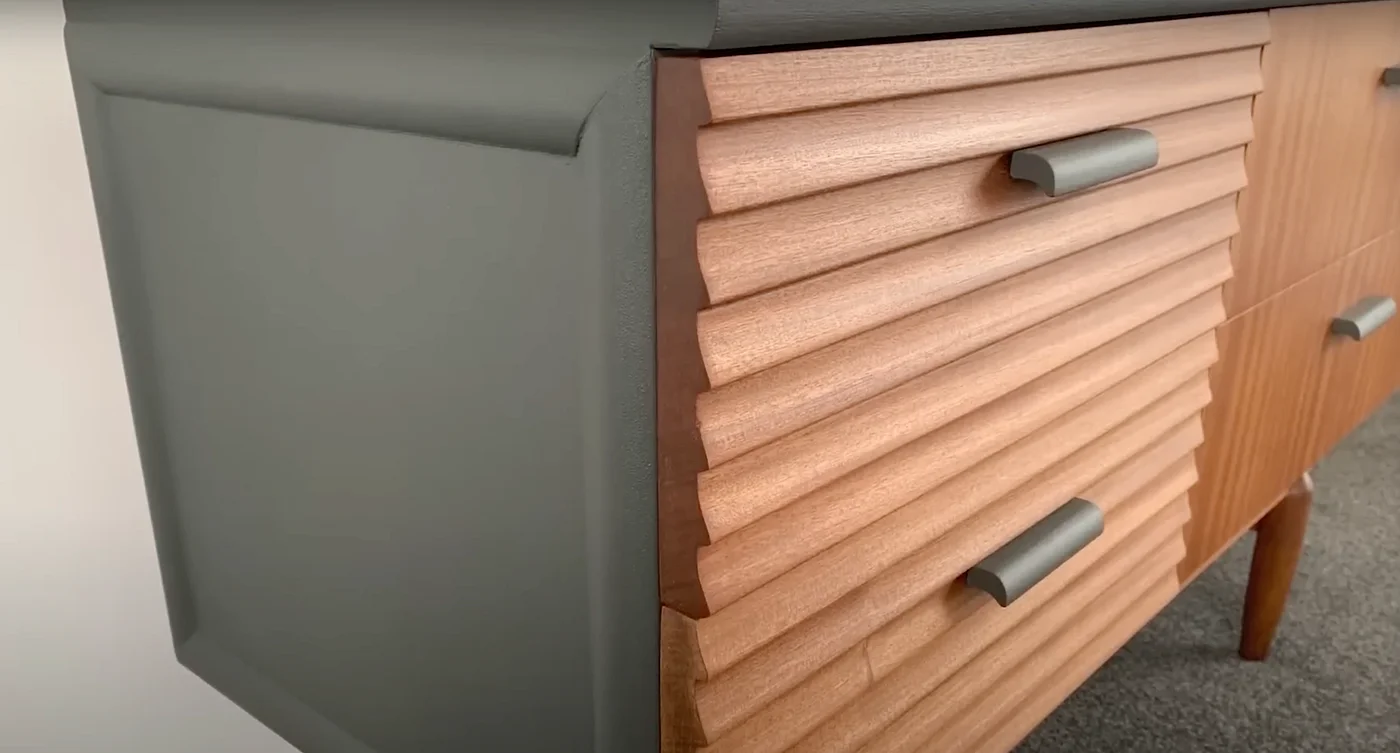
Within a few days, I had this piece listed, and I was happy to see it sold quickly — proof that a bit of effort can really pay off! It sold for $300NZD and for one of my first flips, I was pretty chuffed with that.
Lessons I Learned (The Hard Way)
Start with the right grit: Don’t jump into coarse sandpaper too quickly. It can damage veneer.
Protect yourself: Always wear a quality mask and use dust collection tools.
Be patient with repairs: Veneer can be delicate. Take your time to avoid making things worse.
Plan your approach: Think about whether to strip, paint, or stain based on your budget and the look you want.
Reuse hardware and screws: Save money and time by reusing what’s still good.
Wrapping It Up
Furniture flipping isn’t about perfection — it’s about making something look great with a bit of effort and patience. Everyone makes mistakes, and that’s part of the learning process. The key is to keep going, learn from those mistakes, and enjoy transforming tired old pieces into something new and beautiful.
Thanks for hanging out with me! If you want more real-world tips and honest stories about furniture flipping, subscribe and stay tuned. Happy flipping!